A Step-by-Step Guide to Installing Your Bouncie Device
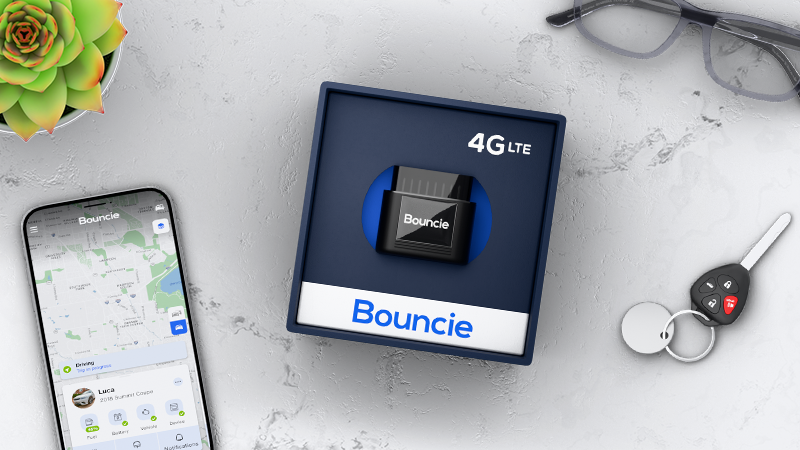
Bouncie is a device that installs in your vehicle OBD port, bringing you the power of connected car technology and providing a smarter, more interactive driving experience. It provides value in many ways, acting as a GPS tracker for vehicles, a diagnostic tool, and a way to track driving habits, all within an easy-to-use app. You’ll find this process simple and this guide will provide step-by-step instructions on creating your account, downloading the app, and installing the device. Whether you just purchased a Bouncie or are thinking about getting one, we’re sure you will find this information helpful. You can find additional information about Bouncie and purchasing a device on their website at Bouncie.com.
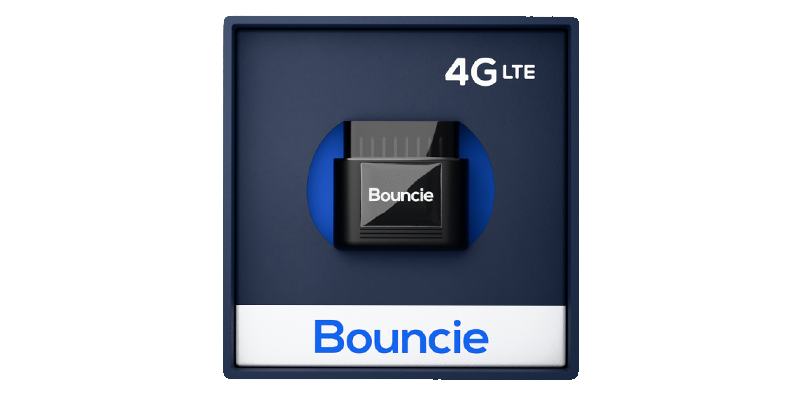
What’s in the Box?
When you receive your Bouncie, you’ll find the device itself tucked away in snug packaging to keep it from being damaged during shipping, and… that’s it! That’s all you need to install Bouncie, just the device itself. You won’t need any wires, tools, or extra equipment, and you’ll find that it is so easy that professional installation is not required. On the box, you’ll also find a QR code that you can scan with your phone’s camera to begin the installation process.
Step 1: Download the App and Log In
You can scan the QR code on the box to quickly download the Bouncie vehicle monitoring app from the Apple App Store or Google Play Store. You can also download it directly from your preferred app store by searching for Bouncie and downloading the app that looks like this:
The first time you open the app, you’ll be prompted to create an account. If you purchased your Bouncie device directly from the Bouncie website, then it is likely that you created an account when you made your purchase. In that case, tap the Sign In link below the Create Account button and enter the email address and password for your account. If you’ve forgotten your password, you can tap on the Reset Password link.
If you purchased your device elsewhere (such as Amazon), you will need to follow the prompts to create your account. Enter your name, mobile number, and email address, create a strong password, and then tap the Create Account button.
Step 2: Enter the VIN and Pair the Device
You’ll be asked to enter your vehicle’s identification number, also known as the VIN. It is 17 digits and is a mix of letters and numbers. The VIN can be found in multiple locations including on the driver’s side dashboard and inside the driver's side door. If you’re having trouble locating the VIN, you will also find it on the vehicle’s insurance card or policy, and the vehicle’s title.

Next, you will enter your vehicle’s make, model, and year, and then you can further customize your vehicle’s information by assigning it a nickname and entering your license plate number and odometer reading as well. You can also customize an emblem for your vehicle, which is super fun!
Finally, you’ll be prompted to scan the back of your device. The device has a white label on one side that includes a bunch of information, including the device’s assigned IMEI number, which is assigned to electronic devices as a way of assigning an identity to the device, kind of like giving the device a phone number. Scanning the white label is the easiest way of entering the IMEI, but you can also manually enter it by tapping the Enter IMEI link. Once the device scan is successful, move to Step 3. If you need help with any of the steps mentioned above, you can reach out to Bouncie’s Help Center and start a chat.
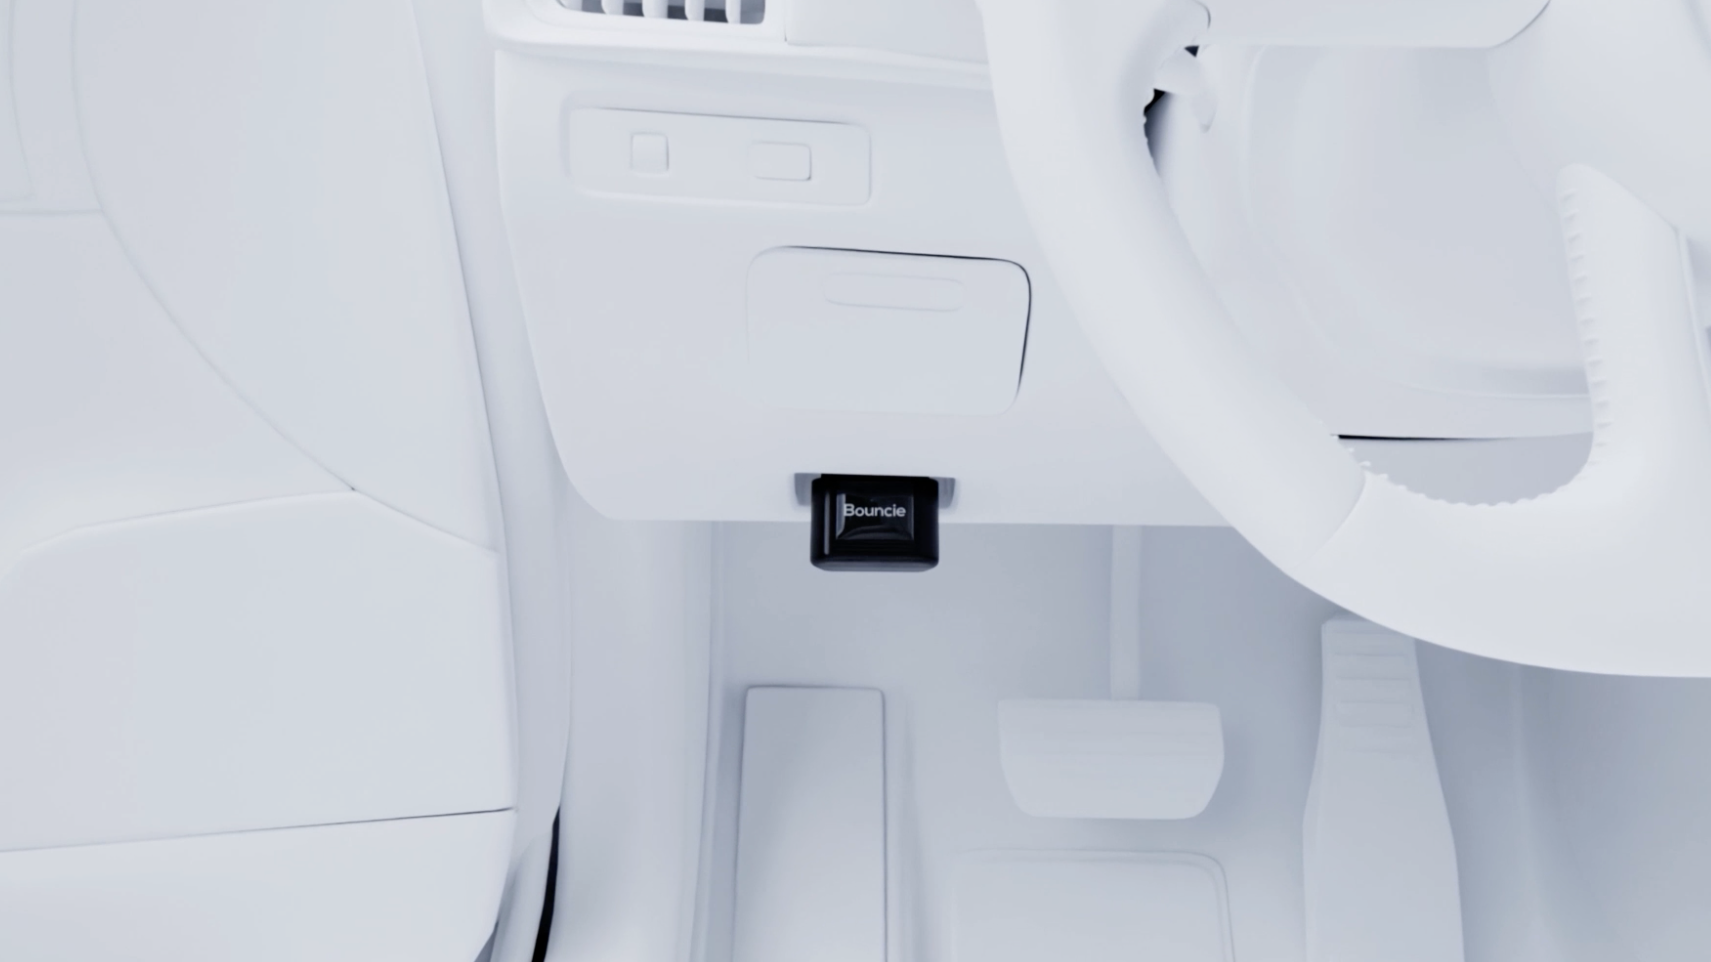
Step 3: Locate the OBD2 Port
OBD stands for On-Board Diagnostics, which is like your car's internal health monitor. It tracks data and reports issues, helping mechanics (and Bouncie) diagnose problems efficiently. An OBD Port is like a plug that allows diagnostic devices, such as Bouncie, to be inserted into your vehicle to monitor vehicle activity and diagnose issues. It's the same port that mechanics use to check your vehicle when they assess it for issues. OBD2 is the same thing as OBD-II as the terms are used interchangeably.
The OBD2 port is a small, rectangular outlet with 16 distinct pinpoints on its face. Locating your vehicle’s OBD2 Port can be a challenge. Here are some places to look:
- Under the steering wheel: The OBD2 port is often located beneath the steering column, either to the left, right, or in the middle.
- Under the dashboard: Look around the driver's side footwell, near the pedals.
- Near the center console: Some vehicles have the port closer to the middle, sometimes under a removable panel.
- Beneath the glove compartment: In some cases, the port may be on the passenger's side, beneath the glove compartment.
If you are still having trouble locating the port, a quick Google search of your vehicle’s make and model along with “OBD2 Port” might give you an answer. You can also use Bouncie’s Compatibility Checker by entering the make, model, and year of your vehicle, then clicking on the “Where’s my OBD Port” link.
Step 4: Plug in your Bouncie Device
The Bouncie device has the same shape as any other device that is designed to be plugged into the OBD2 port, so installation is effortless. Simply push the device firmly into the OBD2 port and it's ready to begin reading data about your driving trips.

You’ll know it’s successfully plugged in when you see lights appear inside the device. The colors of the lights are not important, you’re just looking for lights in general. The lights will stay on for the first five seconds to give you ample time to confirm that Bouncie is receiving power. If you see lights, move to Step 5.
If you do not see lights come on inside of Bouncie, there are a few troubleshooting steps you can take. If you aren't seeing lights, your next step is to unplug Bouncie and check the fuse that supports your OBD2 port. Fuses blow to protect your car. It's a good thing and nothing to worry about... the fuse is just doing its job. If you suspect a blown fuse, refer to your vehicle's manual for next steps. If you have checked your fuse and its working, or you replaced your fuse, plug Bouncie back in and look for lights.
If you still don’t see lights, try plugging the device into another vehicle to see if lights come on when installed somewhere else. If they do, then that’s an indicator that something is up with that initial OBD2 port and you might need to get it checked. If you still don’t see lights in Bouncie, it’s time to reach out to them for a warranty replacement. Visit Bouncie’s Help Center and start a chat with a representative.
Step 5: Take a Test Drive
Initially Bouncie needs time to "wake up and connect". When you first install Bouncie, it needs a few driving trips, or start-stop cycles, to calibrate. Bouncie has a chip inside of it that records data from your vehicle. At first, the chip doesn't know its orientation inside of your vehicle. Some OBD2 Ports are horizontal, some are vertical, some lie flat, and some point down towards the floor board.
After a few driving trips, Bouncie is able to determine its orientation in your vehicle, it begins transmitting data to Bouncie’s servers, and then they feed that data to your app. Take at least one trip lasting for 15 minutes so the device can activate. Turning your vehicle off and on does not affect the calibration of your device.
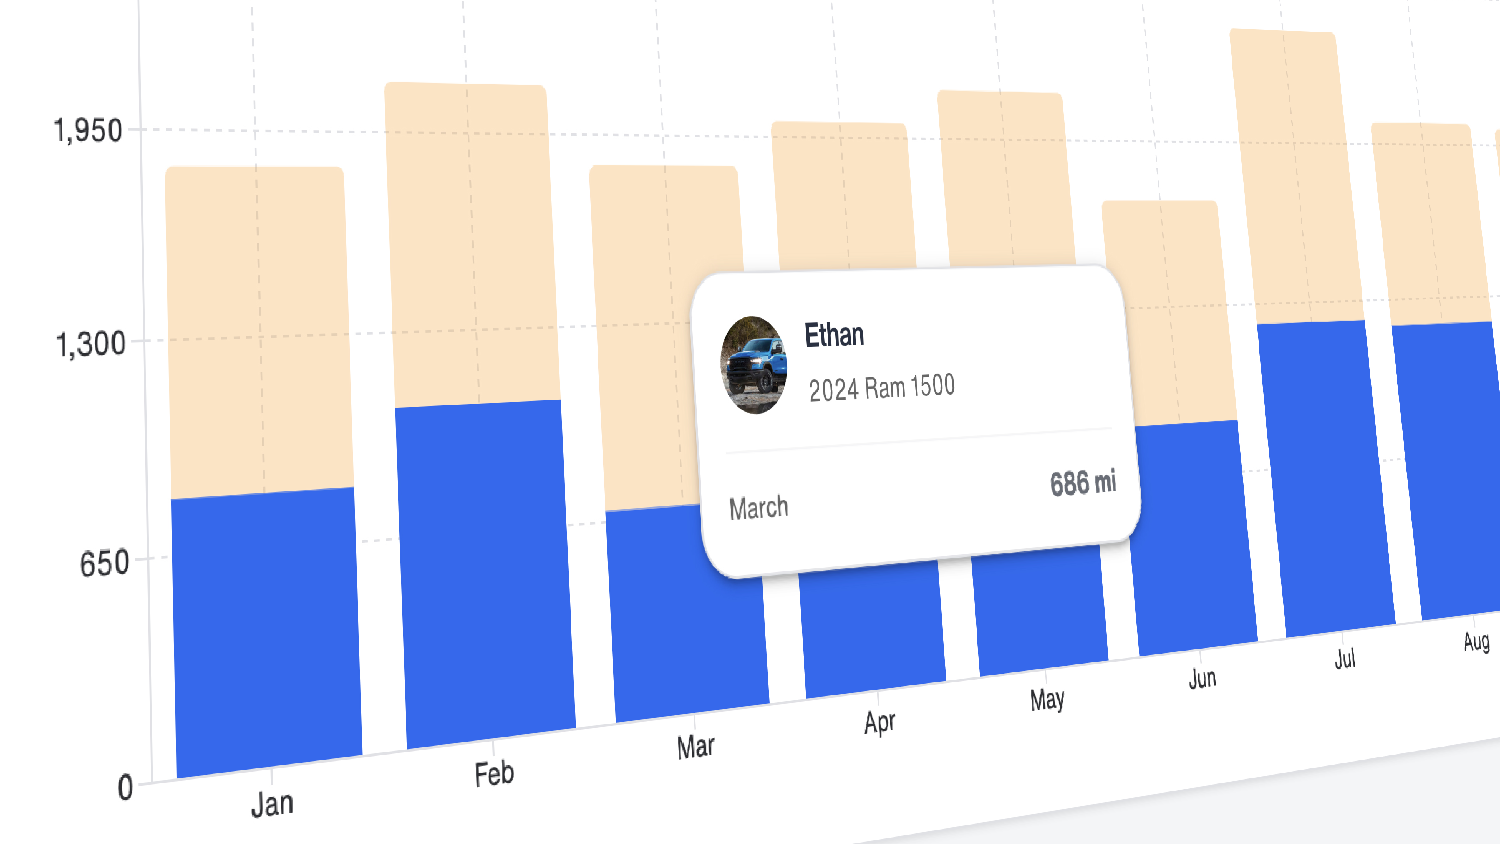
Once you’ve taken a trip, open the app to see what Bouncie recorded for you! Bouncie offers real-time GPS vehicle tracking, recording data every second and sending it instantly to its servers. You’ll be able to browse live data, including your vehicle's current location on a map. You’ll see information about your vehicle, such as fuel level, battery power level, engine health, and device health. If you tap on Trips in the lower left, you’ll see information about your most recent trip including start and end times, distance traveled, and you might see little indicators about your trip such as max speed and if you stayed within speed limits.
Step 6: Customize Settings and Notifications
Now that Bouncie is up and running, let’s chat through a few settings and notifications that you can set up in the app. For an in-depth look at all the features of the Bouncie app, you can reference the Navigating the Bouncie Mobile App article in the Help Center.
Bouncie offers vehicle monitoring alerts for driving events such as geo-zones, curfews, speeding, hard braking, rapid acceleration, and more. To customize these alerts, open the app, tap the ellipsis [•••] next to the vehicle, and select Notification Settings.

There are several settings that you can activate to receive notifications about your vehicle and your driving habits.
- Speed alerts can be setup that can notify you if the vehicle goes over a set speed or the speed limit of any given area.
- Setting up Geo-Zones (also called geofences or geocircles) will provide you with notifications when a vehicle enters and exits any zone you have set up. You will be alerted to know exactly when the vehicle arrives in the zone, and know exactly when the vehicle leaves the zone.
- Hard Braking and Rapid Acceleration are measures of a speed change over a period of time. All of these are recorded and displayed on completed trips and enabling the alerts for them means you will receive an alert on your device when they occur.
- There are several other settings and notifications available! If you want to learn more, visit Bouncie’s website and Help Center.
Installing Multiple Devices
Whether you have multiple devices for your family or manage a fleet, your Bouncie account can support all your vehicles under one account, no matter how many devices you use. Once you have set up your first device, in the app, tap the car search icon located in the top right, and tap the “+” to add a new vehicle. Follow the steps above starting with Steps 2 through 5 to install any other devices you’ve purchased.
Once you have the device installed in each vehicle, and have taken an initial test drive in each one, you will be able to easily switch between each vehicle in the app by tapping the car switcher icon located in the top right.
Troubleshooting Tips
Bouncie has an amazing knowledge base about how to get help when you need it, and an even more amazing customer support team! Anytime you need help, you can search their help articles in the Help Center, or reach out to a representative via chat, which can be found in the app by tapping the three lines in the top left corner, and then tapping on “Need Help?”
There is an article you can check out if you have general questions about Bouncie too. You can reference the Bouncie FAQs article to get answers to your questions.
Smarter Driving Starts Now
With Bouncie, you’re just six simple steps away from a smarter, safer, connected driving experience. From real-time location tracking to detailed vehicle diagnostics, Bouncie keeps you connected and informed like never before. Install your device today and unlock a whole new level of driving insights! Be sure to explore all of what Bouncie has to offer by playing with the app and visiting the Help Center.
Ready to experience real-time vehicle tracking and smarter driving insights? Visit Bouncie.com to get started today.